Tag: Web Development

  • How to Set Up Auth for WordPress GraphQL in a Next.js Project

    How to Set Up Auth for WordPress GraphQL in a Next.js Project

    If you use WordPress as a headless CMS with Next.js, sooner or later you will need to fetch private data. Maybe it is draft posts, a preview page, or content only logged in users should see. Public data works without any login, but private data needs authentication.

    In this guide I will show you how to set up auth for WPGraphQL and how to use your credentials safely inside Next.js. I will keep it simple and go one step at a time.

    What You Need Before You Start

    1. A WordPress site running on HTTPS
    2. The WPGraphQL plugin installed and active
    3. A Next.js project (App Router in this guide)
    4. Basic knowledge of fetch and environment variables

    Step 1: Install and Check WPGraphQL

    In your WordPress dashboard, go to Plugins, then Add New, and search for WPGraphQL. Install it and click Activate.

    After that, you will see a new GraphQL menu in the sidebar. Your endpoint will be:

    https://yourdomain.com/graphql

    Open the GraphiQL IDE from the GraphQL menu and run a simple query to confirm everything works.

    Step 2: Create an Application Password

    This is built into WordPress. It is the easiest choice when your Next.js server needs to talk to WordPress, for example to read drafts. Think of it as your API key.

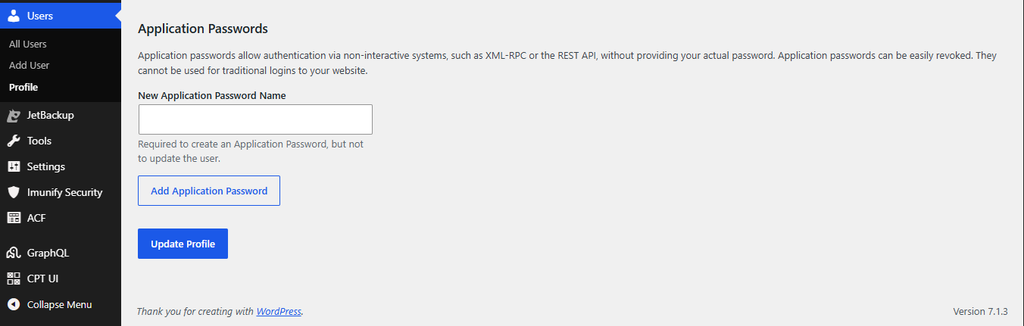
    1. In WordPress, go to Users, then Profile
    2. Scroll down to the Application Passwords section
    3. Type a name like “Nextjs Frontend”
    4. Click Add New Application Password
    5. Copy the password right away. WordPress shows it only once
    A tip from experience: create a separate user with only the role it needs, like Editor, instead of using your admin account. If the key ever leaks, the damage stays small.

    Step 4: Store the Credentials in Environment Variables

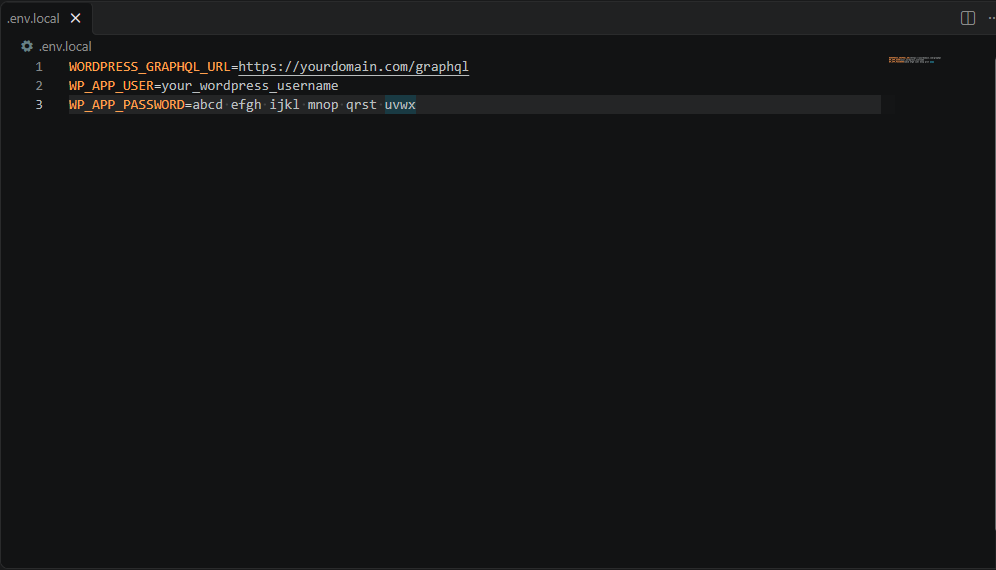
    In the root of your Next.js project, open the .env.local file and add:

    WORDPRESS_GRAPHQL_URL=https://yourdomain.com/graphql
    WP_APP_USER=your_wordpress_username
    WP_APP_PASSWORD=abcd efgh ijkl mnop qrst uvwx

    Very important: do not add the NEXT_PUBLIC_ prefix to these names. Any variable with that prefix gets sent to the browser, and anyone can see it. Without the prefix, the value stays on the server only.

    Also make sure .env.local is listed in your .gitignore file so it never goes to GitHub.
    Step 5: Create a Helper Function for API Calls

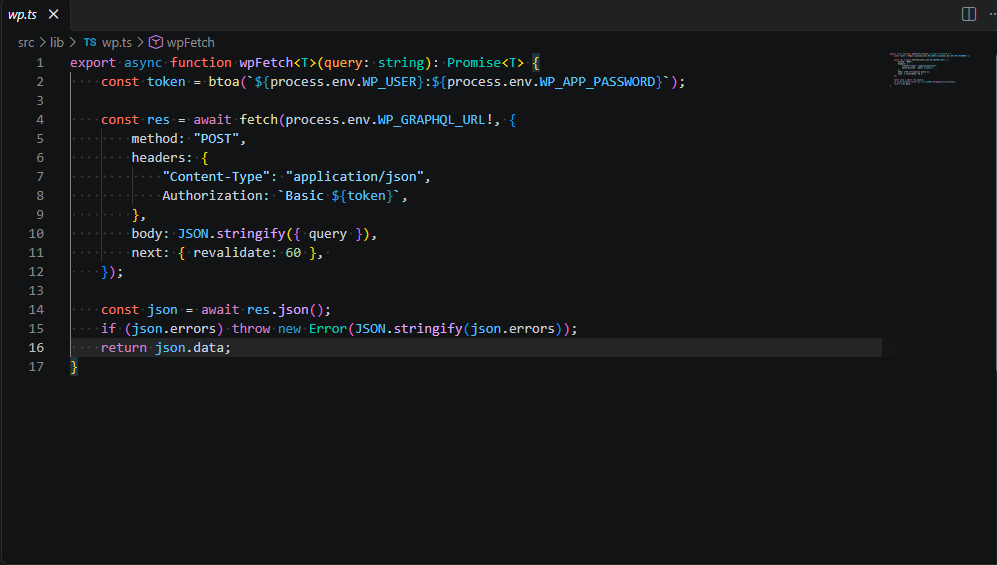
    Instead of writing the same fetch code again and again, make one helper. Create a file at lib/wp.js:

    export async function wpFetch<T>(query: string): Promise<T> {
        const token = btoa(`${process.env.WP_USER}:${process.env.WP_APP_PASSWORD}`);
    
        const res = await fetch(process.env.WP_GRAPHQL_URL!, {
            method: "POST",
            headers: {
                "Content-Type": "application/json",
                Authorization: `Basic ${token}`,
            },
            body: JSON.stringify({ query }),
            next: { revalidate: 60 }, 
        });
    
        const json = await res.json();
        if (json.errors) throw new Error(JSON.stringify(json.errors));
        return json.data;
    }

    Here is what this code does in simple words:

    1. It joins your username and application password, and turns them into a Base64 string.
    2. It sends that string in the Authorization header with the word Basic in front.
    3. WordPress reads the header, checks the user, and then returns data based on that user’s permissions.
    4. The revalidate: 60 line tells Next.js to refresh the cached data every 60 seconds.
    Step 6: Use the Helper in a Page

    Now let us fetch draft posts, which only logged in users can see. Create app/drafts/page.js:

    import { wpFetch } from "@/lib/wp";
    
    const QUERY = `
      query GetDrafts {
        posts(where: { status: DRAFT }) {
          nodes {
            id
            title
            slug
          }
        }
      }
    `;
    
    export default async function DraftsPage() {
      const data = await wpFetch(QUERY);
      const posts = data.posts.nodes;
    
      return (
        <main>
          <h1>Draft Posts</h1>
          {posts.map((post) => (
            <p key={post.id}>{post.title}</p>
          ))}
        </main>
      );
    }

    This is a Server Component, so the API call runs on the server. Your password never reaches the browser. If you run the same query without the auth header, WordPress returns an empty list. With the header, you see your drafts. That is how you know auth is working.

    Common Mistakes to Avoid

    1. Using NEXT_PUBLIC_ on secret values
    2. Using an admin account when an Editor account is enough
    3. Running your site on HTTP. Application Passwords need HTTPS on live sites
    4. Forgetting to add .env.local to .gitignore
    5. Calling private queries from client components, which exposes your keys

    Final Thoughts

    Setting up auth for WordPress GraphQL is not hard once you know the flow. Create an application password, keep it in a server only environment variable, send it in the Authorization header, and always make private calls from the server side of Next.js. If you need user logins, add JWT on top.

    I hope this guide saved you some time. If you get stuck on any step, leave a comment and I will try to help.
  • Common React Query Issues, Query Key and Invalidate Queries Problems Explained

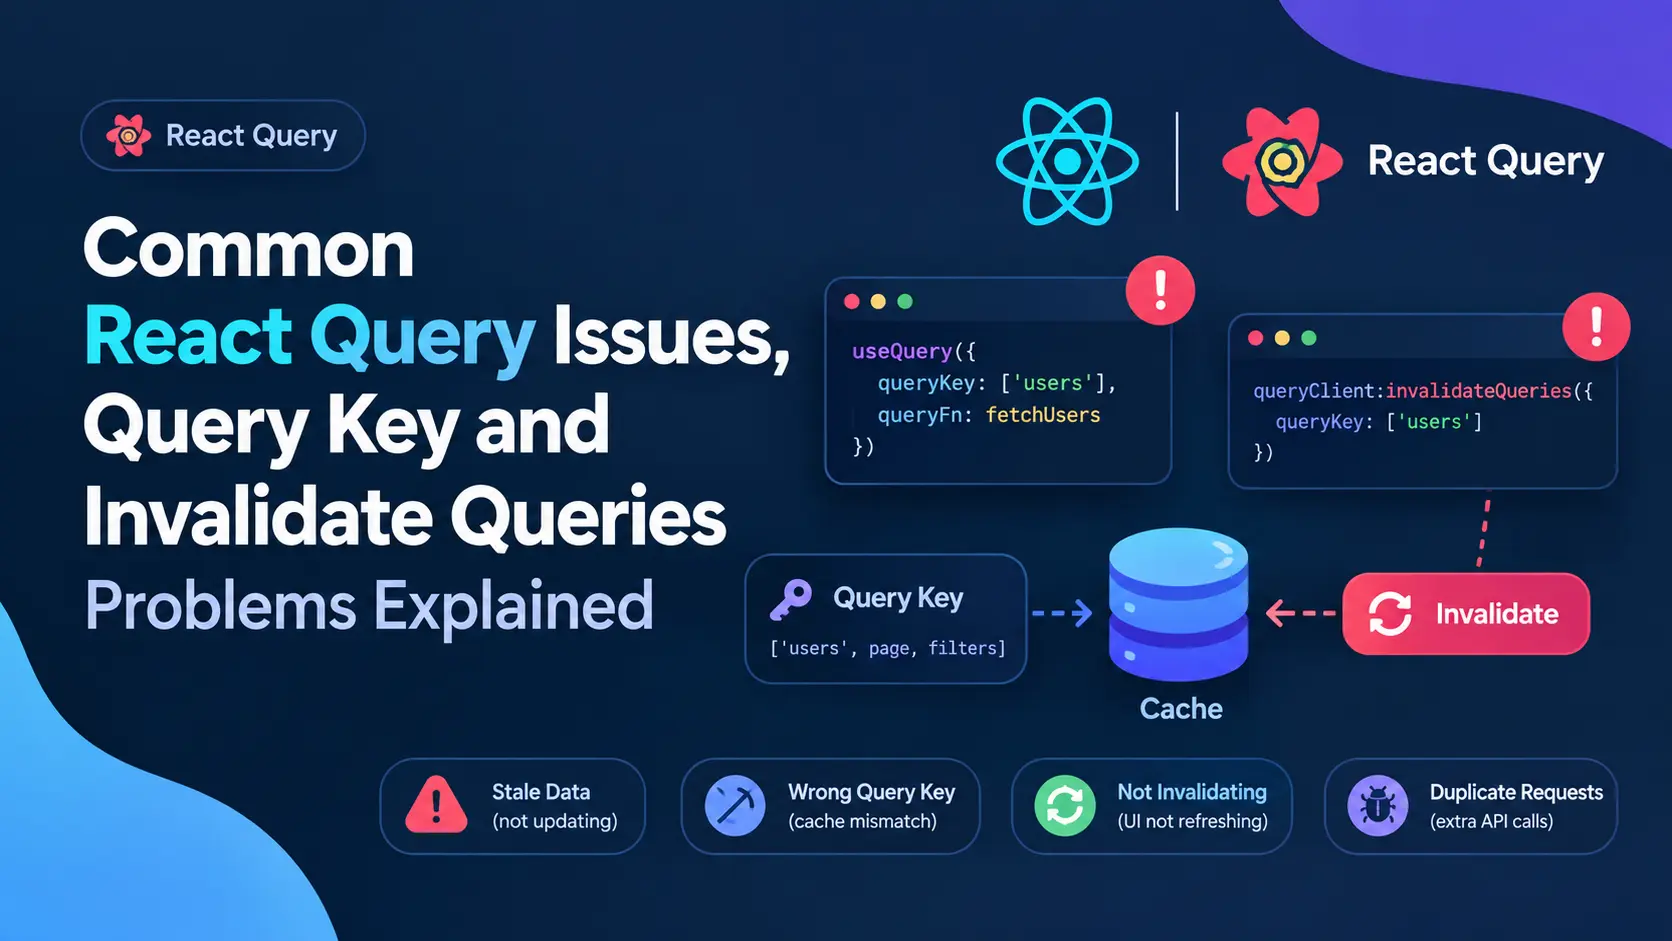
    Common React Query Issues, Query Key and Invalidate Queries Problems Explained

    React query fixes a lot of problems that come with useEffect based fetching, i already wrote about that in my last post. But once you start using it in real projects you run into a new set of issues, mostly around query keys and invalidation. Most of these bugs happen not because react query is broken, but because the query key was not passed correctly.

    In this post im going through the most common issues i faced and how i fixed them, with actual code examples for pagination, update and delete cases.

    The Root Cause, Query Keys Not Matching

    React query uses query keys to decide what data belongs to what. If your key doesnt match exactly, invalidation just silently fails, no error, no warning, it just wont refetch and you spend an hour wondering why.

    Here is a mistake i see a lot.

    // fetching data
    useQuery(['users', page], () => fetchUsers(page));
    
    // trying to invalidate later
    queryClient.invalidateQueries(['users']);

    This actually works fine because react query does partial matching by default, ['users'] will match ['users', page] too. But the problem starts when people do something like this.

    useQuery(['users', { page: page, filter: filter }], fetchUsers);
    
    queryClient.invalidateQueries(['users', { page: 1 }]);

    Now this wont match properly because the object in the key is different, react query compares keys deeply but the shape has to line up close enough, and a lot of devs pass half the params during invalidate which just doesnt match the original key structure. Always keep your key structure consistent, dont randomly leave out params when invalidating.

    Case 1, Pagination Query Not Refetching After Invalidate

    This is probably the most common issue people ask me about. You have a paginated list, you invalidate the query after some action, but only the current page refetches or sometime nothing happens at all.

    const { data } = useQuery(
      ['users', page],
      () => fetchUsers(page)
    );

    If you only call queryClient.invalidateQueries(['users']) this should actually invalidate all pages since react query matches by prefix. But if somewhere else in your app you fetch users with a slightly different key, like ['usersList', page] in one component and ['users', page] in another, invalidate wont touch both. Keep one single source of truth for your keys, i usually make a small keys file for this.

    export const userKeys = {
      all: ['users'],
      list: (page) => ['users', page],
      detail: (id) => ['users', id, 'detail'],
    };

    Now everywhere i fetch or invalidate i use this same function, no typos, no mismatch.

    Case 2, Invalidating Pagination and Detail Query After Update

    Let say you have a user detail page and a user list page with pagination. User updates their profile from detail page, now you need both the detail query and the list query to reflect new data.

    const updateUser = useMutation({
      mutationFn: (data) => updateUserApi(data),
      onSuccess: (_, variables) => {
        queryClient.invalidateQueries({ queryKey: userKeys.detail(variables.id) });
        queryClient.invalidateQueries({ queryKey: userKeys.all });
      },
    });

    Notice i invalidate the detail query with the exact id, and the list query using the base key userKeys.all which is ['users']. Since this is a prefix of ['users', page], all pages of the paginated list get invalidated too, no matter what page number they are on. This is the part people usually miss, they only invalidate the current page key like ['users', 1] and forget the user might be sitting on page 3 when the update happened.

    Case 3, Delete Should Invalidate the List, Not the Detail

    When you delete something, there is no detail query left to invalidate really, the item is gone. What you need is to refresh the list so the deleted item disappears from pagination.

    const deleteUser = useMutation({
      mutationFn: (id) => deleteUserApi(id),
      onSuccess: () => {
        queryClient.invalidateQueries({ queryKey: userKeys.all });
      },
    });

    One thing to watch here, if you are on the last page of pagination and you delete the last item on that page, invalidate alone wont fix an empty page issue, you might need to also check if current page has data after refetch and move user back a page if its empty. Thats more of a ui logic thing but it trips people up because they assume invalidate handles everything automatically.

    Cache Issues I Ran Into

    Stale data showing up for a second before refetch This happens because react query shows cached data first then refetches in background. Its actually expected behavior, not a bug, but if you dont want any stale flash you can set staleTime: 0 for that specific query, though this brings back extra network calls so use it carefully.

    Refetch on window focus causing unwanted calls By default react query refetches when user switches back to the tab. On some pages this is not needed, specially if data rarely changes, you can turn it off per query.

    useQuery(['users', page], () => fetchUsers(page), {
      refetchOnWindowFocus: false,
    });

    Old cache showing after logout and login with different user This one bit me once. If you dont clear the query client on logout, next user sometime sees cached data from previous user for a split second. Fix is simple, just call queryClient.clear() on logout.

    const handleLogout = () => {
      queryClient.clear();
      logoutUser();
    };

    Final Thoughts

    Most react query problems i debugged over time werent actually about the library, they were about query keys not being consistent across the app. Once you centralize your keys and understand how prefix matching works for invalidation, most of these invalidate issues go away on their own.

    If you’re working on a react or next js project and running into similar caching or invalidation bugs, feel free to reach out, i work as a full stack mern and next js developer and i deal with these exact issues regularly while building dashboards and saas platforms. You can check my work at Mern Stack Developer Project.

  • How to Connect MongoDB with Node.js using Mongoose

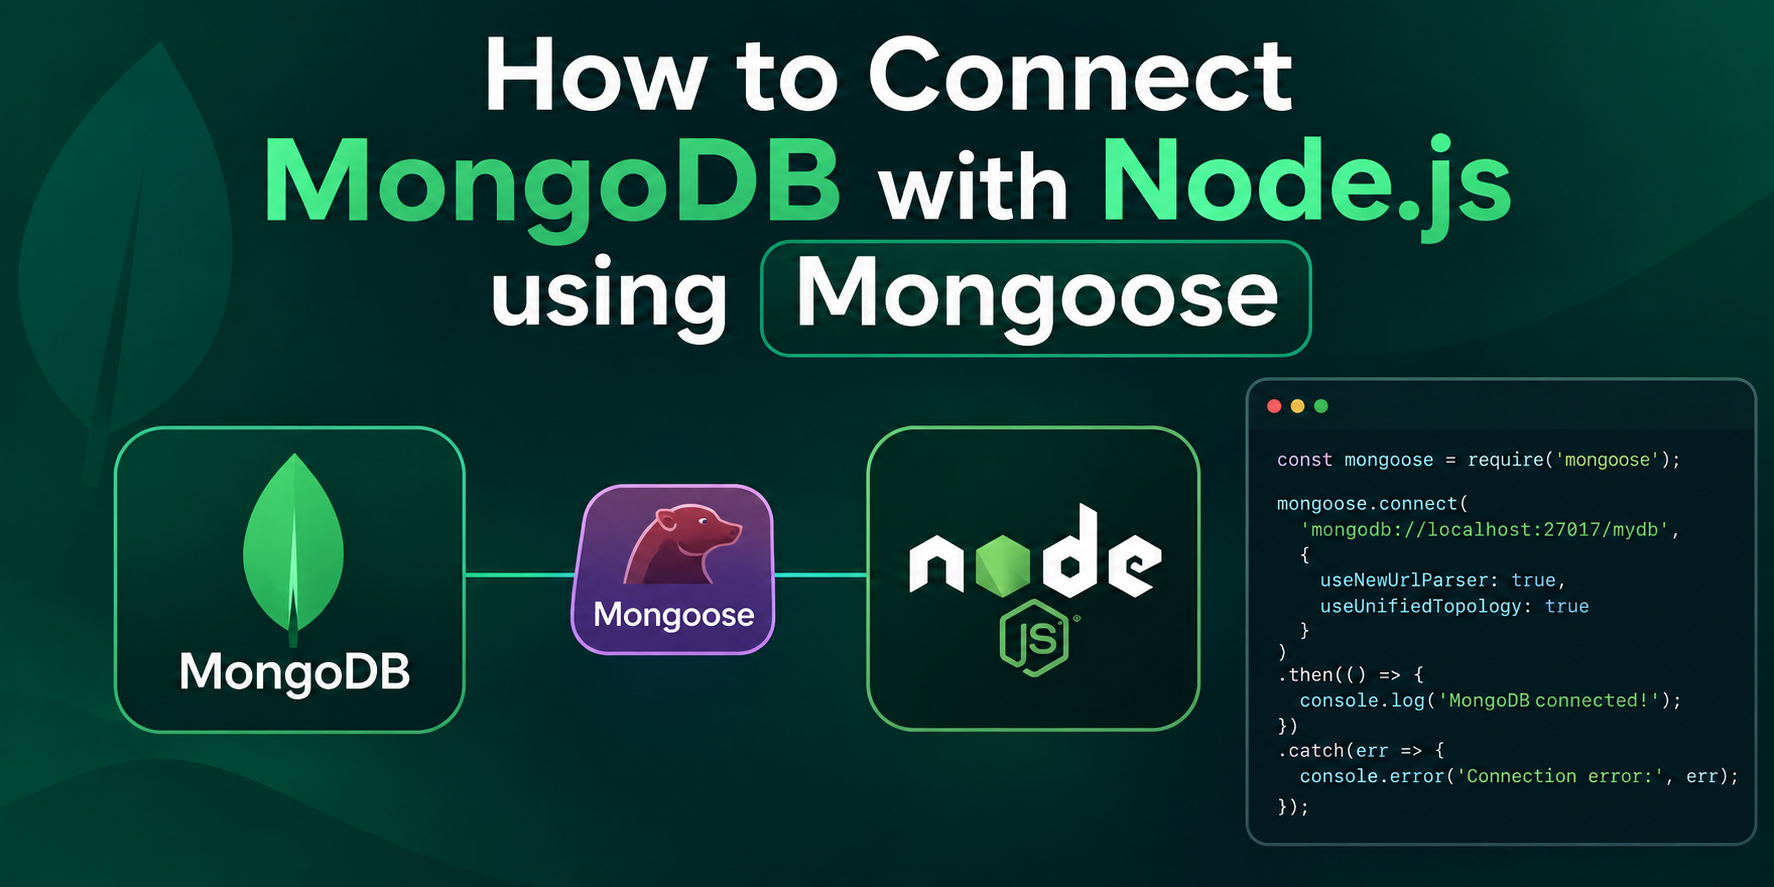
    How to Connect MongoDB with Node.js using Mongoose

    If you’re building a backend app with Node.js, at some point you’ll need a database to store your data. MongoDB is one of the most popular choices for this, especially when you’re working with JavaScript on both the frontend and backend. But connecting MongoDB directly with Node.js can get messy. That’s where Mongoose comes in.

    Mongoose is a library that sits between your Node.js app and MongoDB. It makes things much easier by giving you a simple way to define your data structure and talk to the database. In this post, I’ll walk you through the whole process step by step.

    What is Mongoose

    Mongoose is an ODM, which stands for Object Data Modeling. In simple words, it lets you create models for your data (like a User model or a Post model) and it handles all the communication with MongoDB behind the scenes. Instead of writing raw database queries, you get clean and readable functions.


    Step 1: Set Up Your Project

    First, create a new folder for your project and open it in your terminal. Then run this command to start a Node.js project:

    This will create a package.json file for you.

    Step 2: Install Mongoose

    Now install Mongoose using npm:

    That’s it. No extra setup needed. Mongoose is ready to use once it’s installed.

    Step 3: Get Your MongoDB Connection String

    Before connecting, you need a MongoDB database. You have two options here:

    • Use MongoDB Atlas (cloud version, free tier available)
    • Use MongoDB locally on your computer

    If you’re just starting out, MongoDB Atlas is the easier option. Just create a free account, set up a cluster, and copy your connection string. It will look something like this:

    Step 4: Connect to MongoDB

    Now create a file called server.js (or index.js, whatever you prefer) and write this code:

    Replace your-connection-string-here with the actual connection string from your MongoDB Atlas dashboard. Run this file with node server.js and if everything is correct, you’ll see “Connected to MongoDB” printed in your terminal.

    Step 5: Create a Schema and Model

    This is where Mongoose really shines. A schema defines the shape of your data. Let’s say we’re building a simple user system:

    The schema tells Mongoose what fields your data will have and what type each field should be. The model is what you’ll actually use to create, read, update, and delete data.

    Step 6: Save Data to the Database

    Once your model is ready, you can save new data like this:

    Step 7: Fetch Data from the Database

    To get data back, you can use the find method:

    This will return all the users stored in your database.

    Common Mistakes to Avoid

    While connecting MongoDB with Node.js, beginners often face a few issues. Here are some things to watch out for:

    • Make sure your IP address is whitelisted in MongoDB Atlas, otherwise the connection will fail
    • Double check your username and password in the connection string
    • Don’t forget to handle errors using try-catch or .catch(), so your app doesn’t crash silently
    • Keep your connection string in a .env file instead of writing it directly in your code, for better security