Tag: Node.js

  • Why Cookies Stop Working After You Deploy a MERN App (And How to Fix It)

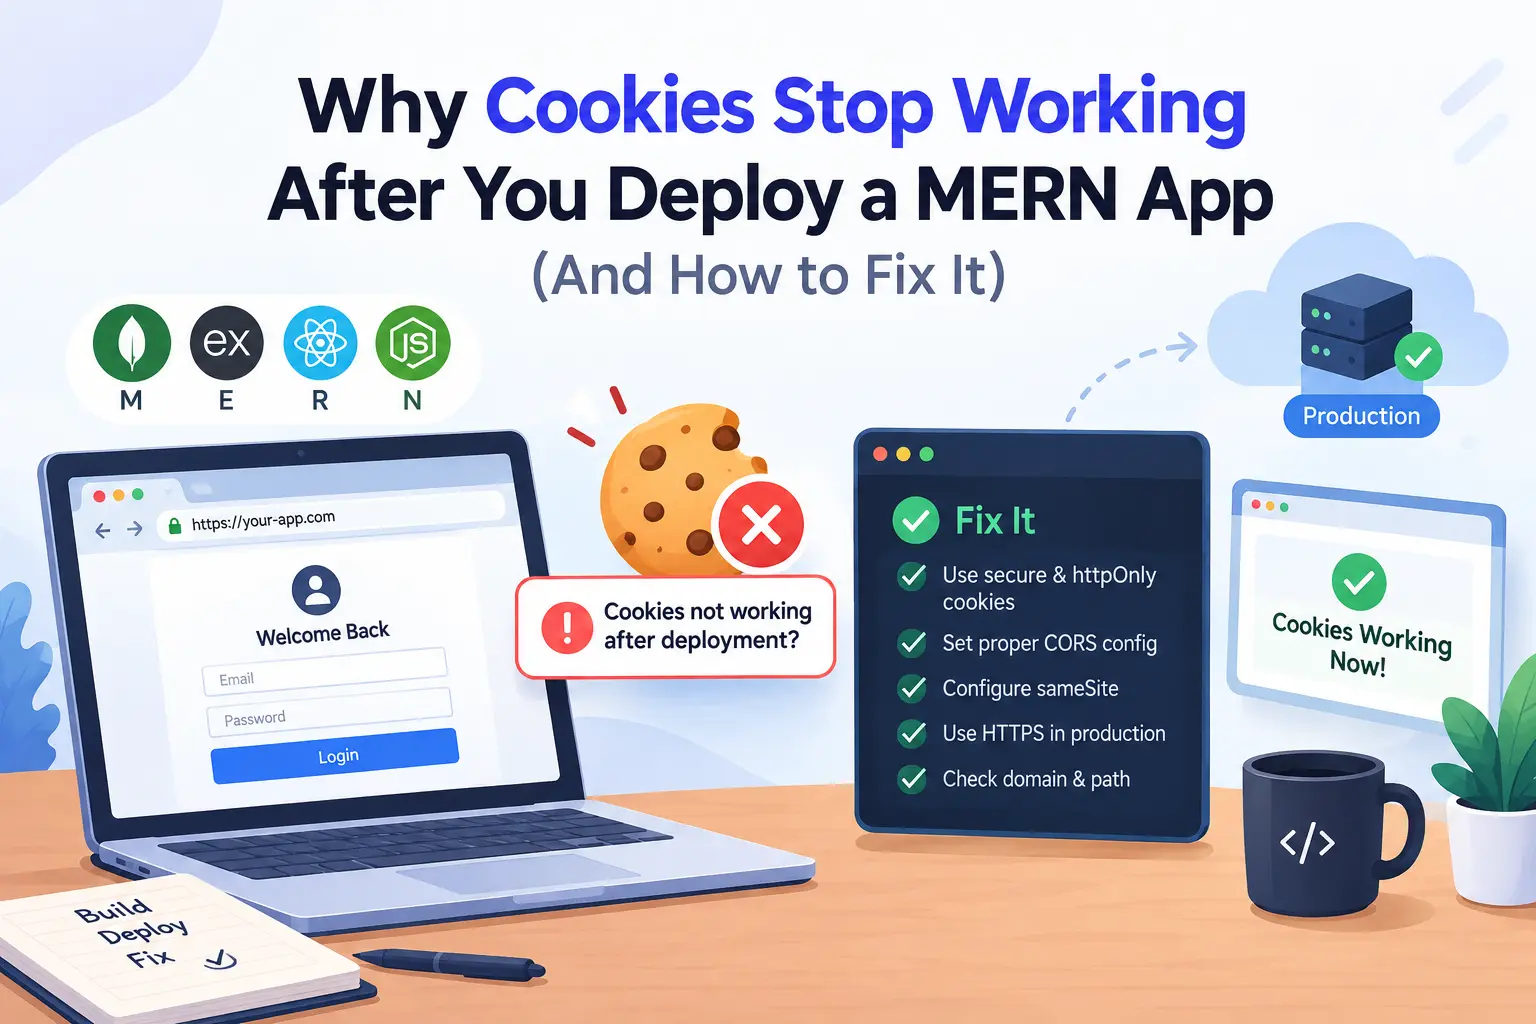
    Why Cookies Stop Working After You Deploy a MERN App (And How to Fix It)

    You build a login system. It works perfectly on your laptop. Then you deploy the React app to Vercel and the Express API to Render, and suddenly nobody can stay logged in. The login request returns 200, but the next request returns 401.

    If your MERN cookies are not working in production, you are not alone. This is one of the most common problems after a first deployment. The good news is that it always comes down to a few settings. In this post I will show you why it happens and how I fix it step by step.

    Why cookies work on localhost but not in production

    On your machine, the frontend runs on localhost:5173 and the backend runs on localhost:5000. Browsers do not care about ports when they decide if two URLs are on the same site. So both are the same site, and cookies flow freely.

    After deployment, your URLs look like this:

    • Frontend: myapp.vercel.app
    • Backend: myapp-api.onrender.com

    These are two different sites. Both vercel.app and onrender.com are on the public suffix list, so every project under them counts as its own site. Now your API cookie is a third-party cookie, and browsers treat it very differently.

    How to check what is broken

    Before you change any code, open DevTools and look at two things:

    1. Go to the Network tab, click your login request, and check the response headers for Set-Cookie.
    2. Go to the Application tab, open Cookies, and see if your cookie was saved.

    Here is how to read what you see:

    What you seeLikely cause
    No Set-Cookie header at allWrong secure setting, missing trust proxy, or a CORS block
    Set-Cookie has a warning iconSameSite=None is used without Secure, or the browser blocked it
    Cookie is saved but not sent on the next requestwithCredentials is missing on the client
    CORS error that mentions credentialsWildcard origin or credentials: true is missing

    Step 1: Set the right cookie options on the server

    For a cross-site setup, your cookie needs HttpOnly, Secure and SameSite=None. I keep these in one file so login and logout always use the same values.

    // utils/cookieOptions.js
    const isProd = process.env.NODE_ENV === "production";
    
    export const authCookieOptions = {
      httpOnly: true,
      secure: isProd,
      sameSite: isProd ? "none" : "lax",
      path: "/",
      maxAge: 7 * 24 * 60 * 60 * 1000, // 7 days
    };

    Browsers reject SameSite=None if the cookie is not also Secure. That is why I only turn it on in production. On localhost over plain HTTP, lax works fine.

    Also make sure NODE_ENV is really set to production on your hosting dashboard. If it is missing, your app will silently use the development values.

    Now use the options in your login controller:

    import jwt from "jsonwebtoken";
    import { authCookieOptions } from "../utils/cookieOptions.js";
    
    export const login = async (req, res) => {
      // check email and password first, then:
      const token = jwt.sign({ id: user._id }, process.env.JWT_SECRET, {
        expiresIn: "7d",
      });
    
      res.cookie("token", token, authCookieOptions);
      res.status(200).json({ message: "Login successful" });
    };

    If you still need to set up your database layer, read my guide on how to connect MongoDB with Node.js using Mongoose.

    Step 2: Tell Express to trust the proxy

    Render, Railway and most hosts put a proxy in front of your app. The proxy handles HTTPS, then passes plain HTTP to Express. Because of this, Express may think the request is not secure, and libraries like express-session will refuse to set a secure cookie.

    Fix it with one line, placed before your other middleware:

    app.set("trust proxy", 1);

    This tells Express to read the X-Forwarded-Proto header from the proxy, so req.secure becomes true.

    Step 3: Set up CORS with credentials

    Your API must allow your exact frontend origin and allow credentials. This is the full server setup:

    import express from "express";
    import cors from "cors";
    import cookieParser from "cookie-parser";
    
    const app = express();
    
    app.set("trust proxy", 1);
    
    app.use(
      cors({
        origin: process.env.CLIENT_URL, // https://myapp.vercel.app
        credentials: true,
      })
    );
    
    app.use(express.json());
    app.use(cookieParser());

    These are the mistakes I see most often:

    • Using origin: "*" together with credentials: true. Browsers reject this.
    • Adding a trailing slash, like https://myapp.vercel.app/. The origin must match exactly.
    • Forgetting to add CLIENT_URL in the hosting dashboard.
    • Placing cors() after your routes instead of before them.

    Step 4: Send credentials from the frontend

    Even if the server is perfect, the browser will not send cookies unless you ask it to. With Axios, set withCredentials once on your instance:

    // src/lib/api.js
    import axios from "axios";
    
    export const api = axios.create({
      baseURL: import.meta.env.VITE_API_URL,
      withCredentials: true,
    });

    With the Fetch API, use credentials: "include":

    fetch(`${import.meta.env.VITE_API_URL}/auth/me`, {
      credentials: "include",
    });

    If you are still on Create React App and import.meta.env does not work for you, see my guide on migrating a MERN app from CRA to Vite.

    Step 5: Clear the cookie on logout the right way

    A cookie is only removed if the clear options match the options used to set it. Do not pass maxAge when clearing, because it can stop the cookie from being deleted.

    import { authCookieOptions } from "../utils/cookieOptions.js";
    
    export const logout = (req, res) => {
      const { maxAge, ...clearOptions } = authCookieOptions;
    
      res.clearCookie("token", clearOptions);
      res.status(200).json({ message: "Logged out" });
    };

    The problem that config alone cannot fix: blocked third-party cookies

    You can do everything above and still see broken logins for some users. Safari blocks third-party cookies by default. Firefox isolates them per site. Chrome blocks them in Incognito mode and when users turn on the setting.

    So a cross-site cookie setup works for you in Chrome, then fails for a client on an iPhone. This is why I do not rely on cross-site cookies for real projects. There are three better options.

    Option 1: Use one domain for both apps (best option)

    Put your frontend and backend on subdomains of the same domain:

    • app.yourdomain.com for the frontend
    • api.yourdomain.com for the backend

    These are the same site, so the browser treats your cookie as first-party. You can then use sameSite: "lax" and it works in every browser. Both Vercel and Render support custom domains.

    Option 2: Proxy API calls through Vercel

    If you cannot use a custom domain yet, use Vercel rewrites. The browser talks only to your Vercel domain, and Vercel forwards the request to your API. Add this to vercel.json:

    {
      "rewrites": [
        {
          "source": "/api/:path*",
          "destination": "https://myapp-api.onrender.com/api/:path*"
        }
      ]
    }

    Then set VITE_API_URL=/api in your frontend environment. Every request now looks same-origin, and the cookie becomes first-party. One thing to know: this works for normal REST calls, but WebSocket connections need to go straight to the backend, so real-time features can still run into cookie problems.

    Option 3: Add the Partitioned attribute (CHIPS)

    CHIPS (Cookies Having Independent Partitioned State) lets a cross-site cookie work in supporting browsers, as long as it is stored per top-level site. You add one option:

    res.cookie("token", token, {
      ...authCookieOptions,
      partitioned: true,
    });

    It needs secure: true and sameSite: "none", and you should use a recent Express version. It mainly helps Chromium browsers, and it does not solve the Safari problem. I treat it as a backup, not the main fix.

    Do not forget CSRF

    When you use SameSite=None, you lose some of the built-in protection against CSRF attacks. If your app changes data with cookie auth, add a CSRF token, or at least check the Origin header on write requests. Using a same-site setup like Option 1 avoids this problem entirely.

    Quick checklist

    Run through this list before you spend hours debugging:

    • NODE_ENV is set to production on the server
    • Cookie has httpOnly: true, secure: true and sameSite: "none" in production
    • app.set("trust proxy", 1) is added before other middleware
    • CORS uses the exact frontend URL, with no trailing slash and no *
    • CORS has credentials: true
    • Axios has withCredentials: true, or Fetch has credentials: "include"
    • Logout uses the same cookie options, without maxAge
    • Tested in Safari and in a Chrome Incognito window
    • Considered a custom domain or a Vercel proxy

    If your auth check runs through TanStack Query and you see stale data after login or logout, my post on common React Query issues and invalidate queries will help.

    Frequently Asked Questions

    Why do my cookies work in Postman but not in the browser?

    Postman does not enforce SameSite rules or CORS. It only proves your API logic works. Browsers add extra security checks, so a request can pass in Postman and still fail in the browser.

    Should I use localStorage instead of cookies?

    It avoids the cross-site problem, but any script on your page can read localStorage, so an XSS bug can leak the token. An HttpOnly cookie is safer for auth tokens. I prefer to fix the cookie setup instead of moving the token to localStorage.

    Does SameSite=Strict work when the frontend and backend are on different domains?

    No. Strict blocks the cookie on all cross-site requests. For separate domains you need None, or better, move both apps under one parent domain and use Lax.

    Why does my cookie disappear only on iPhones?

    Safari blocks third-party cookies by default. The fix is to make your API same-site with a custom domain or a proxy, not to change cookie flags.

    Final thoughts

    Most MERN cookie problems in production come from one idea: on localhost your apps share a site, and after deployment they do not. Set the correct cookie flags, trust the proxy, configure CORS with credentials, and send credentials from the client. Then, for a setup that works in every browser, move your frontend and API under the same domain.

    If you want help with authentication, deployment or a full build, take a look at my MERN stack development service and Node.js backend development service. You can also see my past projects, read more on the blog, or contact me directly.
  • Sending Push Notifications from Express.js with Firebase Admin SDK

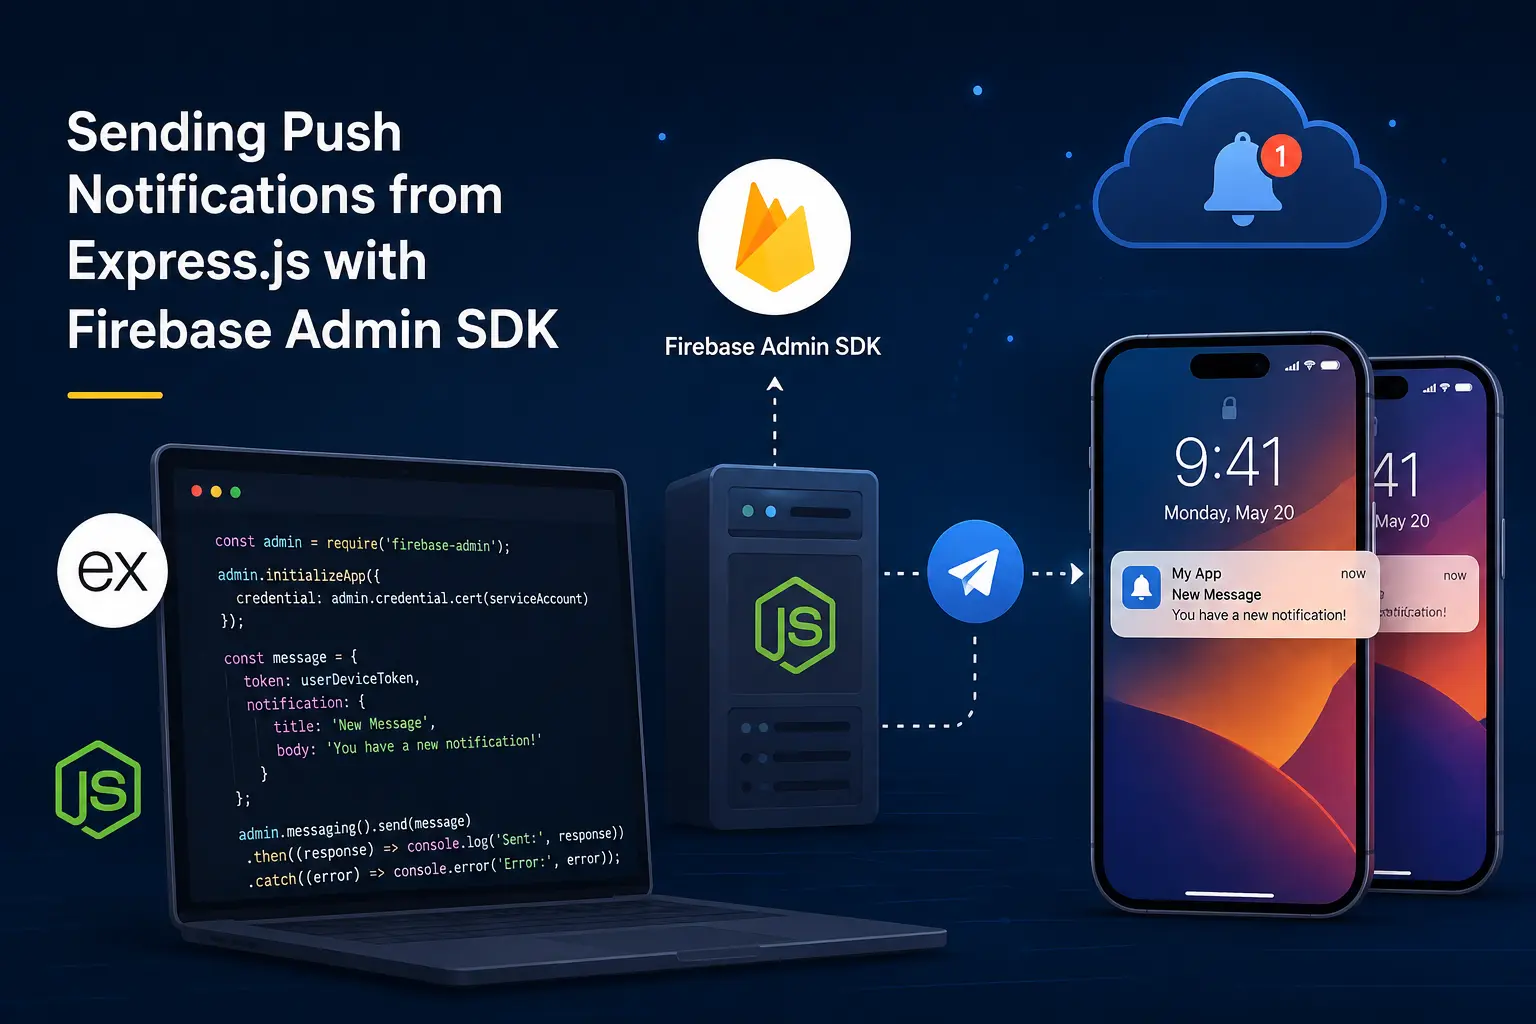
    Sending Push Notifications from Express.js with Firebase Admin SDK

    A practical guide on setting up your Express.js backend to send push notifications through Firebase Cloud Messaging, from the admin SDK setup to writing the actual send function.

    If you read my last post on setting up Firebase Cloud Messaging in React Native, you already know how to get a device ready to receive notifications. But that is only one side of the equation. A phone sitting there with a token isn’t going to notify anyone by itself. Something has to actually send the message. That something, in most of my projects, is an Express.js backend.

    This part is honestly a lot less painful than the mobile side. There’s no Gradle, no missing JSON files, no red screen of death. Once you have your service account key from Firebase, you’re basically 15 minutes away from sending your first test notification.

    What you need before you start

    Before writing any code, go to your Firebase Console, open your project settings, and go to the Service Accounts tab. From there, generate a new private key. This downloads a JSON file with your credentials. Do not commit this file to git. I’ve seen people push it by accident and it’s not a fun cleanup.

    You’ll need three values out of that file:

    • project_id

    I keep all three in a .env file rather than reading the JSON file directly, mostly because it plays nicer with how I deploy things. If you’re on a platform like Render or Railway, you’ll be pasting these into environment variables anyway, so it’s the same workflow either way.

    Installing the admin SDK

    You only need one package for this:

    npm install firebase-admin

    No extra dependencies, no messing around with different SDKs for different platforms. The same firebase-admin package handles Android and iOS tokens.

    Initializing the app

    This part trips people up more than it should, mostly because of one small detail: the private key. When you copy it from the .env file, the line breaks get turned into the literal characters \n instead of actual newlines. If you pass it to Firebase like that, initialization will fail with a vague error about invalid credentials. The fix is a simple .replace() call.

    Here’s how I set it up:

    javascript

    require("dotenv").config();
    var admin = require("firebase-admin");
    
    admin.initializeApp({
      credential: admin.credential.cert({
        projectId: process.env.PROJECT_ID,
        privateKey: process.env.PRIVATE_KEY?.replace(/\\n/g, "\n"),
        clientEmail: process.env.CLIENT_EMAIL,
      }),
    });

    That ?.replace(/\\n/g, “\n”) line is doing the real work here. Without it, you’ll spend way more time debugging than the actual problem deserves. I learned this one the hard way after staring at a “failed to parse private key” error for way longer than I’d like to admit.

    Writing the send function

    Once the app is initialized, sending a notification is just a matter of building a message object and calling admin.messaging().send(). The message needs a notification object with a title and body, an optional data object for anything extra you want the app to handle on its own, and the device token you got from the frontend.

    javascript

    const sendTestPushNotification = async ({ title, body, data, fcm_token }) => {
      try {
        const message = {
          notification: {
            title,
            body,
          },
          data: data,
          token: fcm_token,
        };
    
        await admin.messaging().send(message);
      } catch (error) {}
    };

    A few things worth pointing out here. The data field is separate from notification on purpose. Anything inside notification is what shows up in the notification tray automatically, handled by the OS. The data field is for values your app needs internally, like a screen to navigate to or an ID to fetch. Also, data values have to be strings. If you try passing a number or an object directly, Firebase will throw an error, so stringify anything that isn’t already a string.

    The fcm_token is the piece that connects this whole thing back to the React Native setup. Whatever device you want to notify, that’s the token you save from that side and pass in here.

    Where this token actually comes from

    In a real app, you’re not going to hardcode a token for testing forever. The usual flow looks like this: the app requests the FCM token on launch, sends it to your backend, and your backend saves it against that user in the database. Then whenever you need to notify that user, you just look up their saved token and call the send function above.

    One thing to keep in mind, and I mentioned this in the React Native post too, tokens are not permanent. They refresh, sometimes for no obvious reason. So don’t just save it once and forget about it. Make sure your app updates the saved token whenever it changes, otherwise you’ll end up sending notifications into a void and wondering why your open rates dropped.

    A basic error handling note

    The example above has an empty catch block, which is fine for quick testing but you shouldn’t ship it like that. In a real backend, you’d want to at least log the error, and ideally check if the failure was because the token is no longer registered. Firebase will tell you when a token is invalid or expired, and that’s your cue to remove it from your database so you’re not repeatedly trying to send to a dead address.

    Wrapping up

    That’s really the whole loop. The React Native side handles getting permission and grabbing a token. The Express.js side takes that token and turns it into an actual notification on someone’s phone. Neither half is particularly complicated once you’ve done it once, but the small details, like that private key formatting, are usually what eat up your time the first time around.

    If you haven’t already, it’s worth reading through the React Native setup guide first if you’re building this end to end. Once both pieces are in place, sending notifications becomes a pretty small function call away.

  • How to Connect MongoDB with Node.js using Mongoose

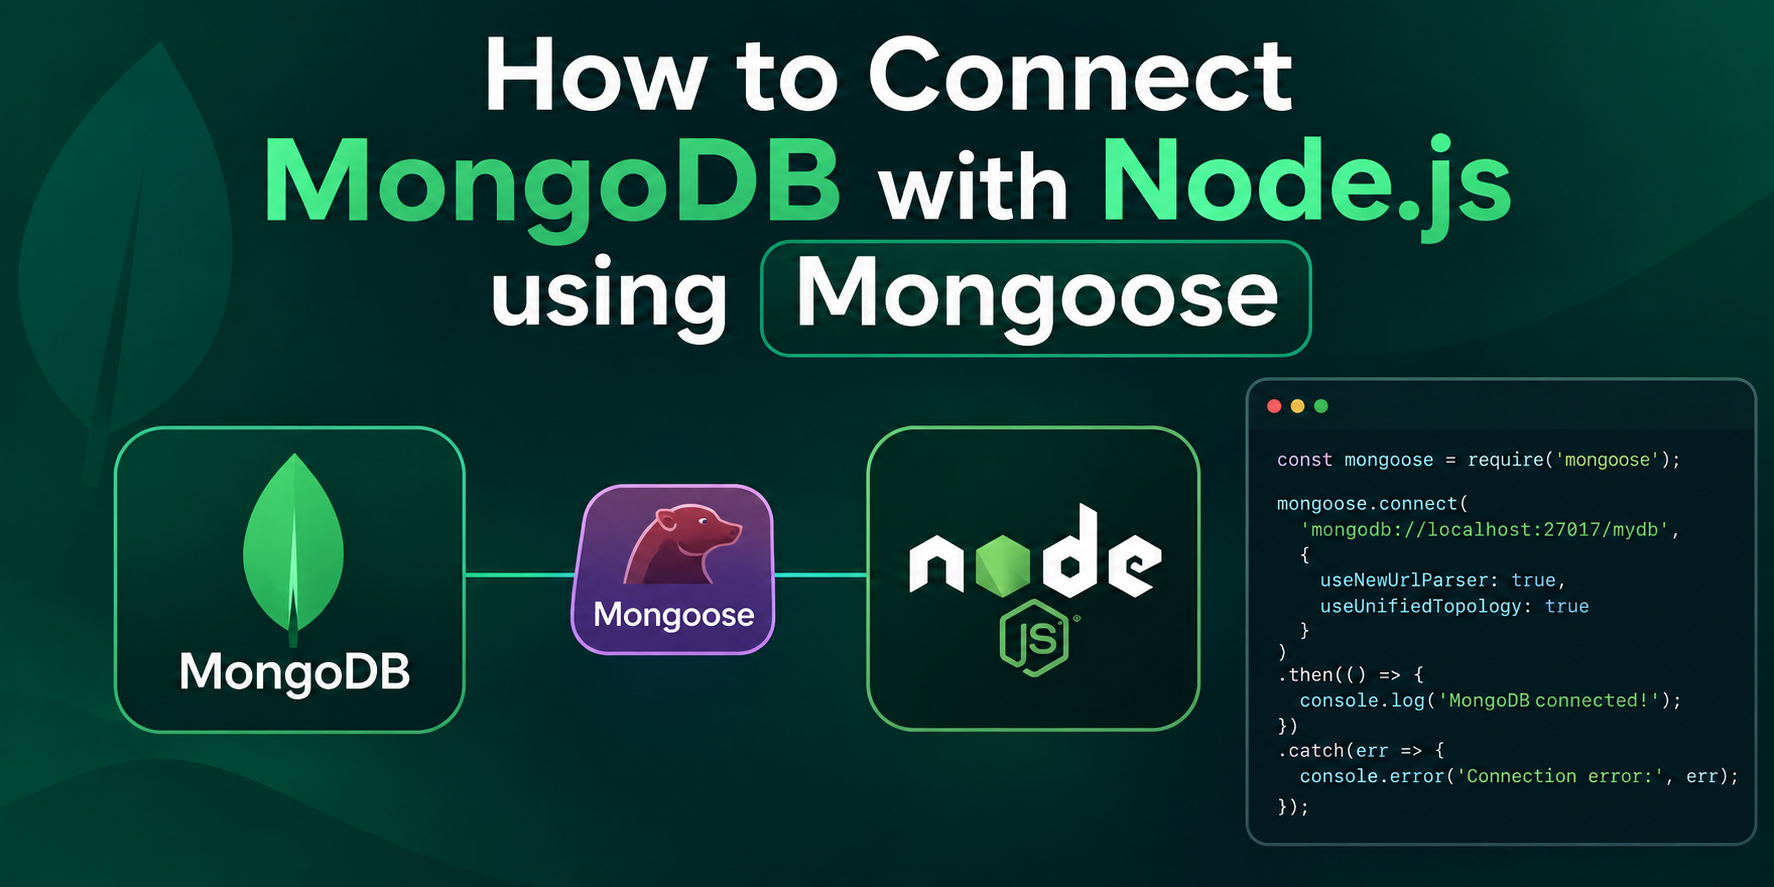
    How to Connect MongoDB with Node.js using Mongoose

    If you’re building a backend app with Node.js, at some point you’ll need a database to store your data. MongoDB is one of the most popular choices for this, especially when you’re working with JavaScript on both the frontend and backend. But connecting MongoDB directly with Node.js can get messy. That’s where Mongoose comes in.

    Mongoose is a library that sits between your Node.js app and MongoDB. It makes things much easier by giving you a simple way to define your data structure and talk to the database. In this post, I’ll walk you through the whole process step by step.

    What is Mongoose

    Mongoose is an ODM, which stands for Object Data Modeling. In simple words, it lets you create models for your data (like a User model or a Post model) and it handles all the communication with MongoDB behind the scenes. Instead of writing raw database queries, you get clean and readable functions.


    Step 1: Set Up Your Project

    First, create a new folder for your project and open it in your terminal. Then run this command to start a Node.js project:

    This will create a package.json file for you.

    Step 2: Install Mongoose

    Now install Mongoose using npm:

    That’s it. No extra setup needed. Mongoose is ready to use once it’s installed.

    Step 3: Get Your MongoDB Connection String

    Before connecting, you need a MongoDB database. You have two options here:

    • Use MongoDB Atlas (cloud version, free tier available)
    • Use MongoDB locally on your computer

    If you’re just starting out, MongoDB Atlas is the easier option. Just create a free account, set up a cluster, and copy your connection string. It will look something like this:

    Step 4: Connect to MongoDB

    Now create a file called server.js (or index.js, whatever you prefer) and write this code:

    Replace your-connection-string-here with the actual connection string from your MongoDB Atlas dashboard. Run this file with node server.js and if everything is correct, you’ll see “Connected to MongoDB” printed in your terminal.

    Step 5: Create a Schema and Model

    This is where Mongoose really shines. A schema defines the shape of your data. Let’s say we’re building a simple user system:

    The schema tells Mongoose what fields your data will have and what type each field should be. The model is what you’ll actually use to create, read, update, and delete data.

    Step 6: Save Data to the Database

    Once your model is ready, you can save new data like this:

    Step 7: Fetch Data from the Database

    To get data back, you can use the find method:

    This will return all the users stored in your database.

    Common Mistakes to Avoid

    While connecting MongoDB with Node.js, beginners often face a few issues. Here are some things to watch out for:

    • Make sure your IP address is whitelisted in MongoDB Atlas, otherwise the connection will fail
    • Double check your username and password in the connection string
    • Don’t forget to handle errors using try-catch or .catch(), so your app doesn’t crash silently
    • Keep your connection string in a .env file instead of writing it directly in your code, for better security