Tag: Javascript

  • Sending Push Notifications from Express.js with Firebase Admin SDK

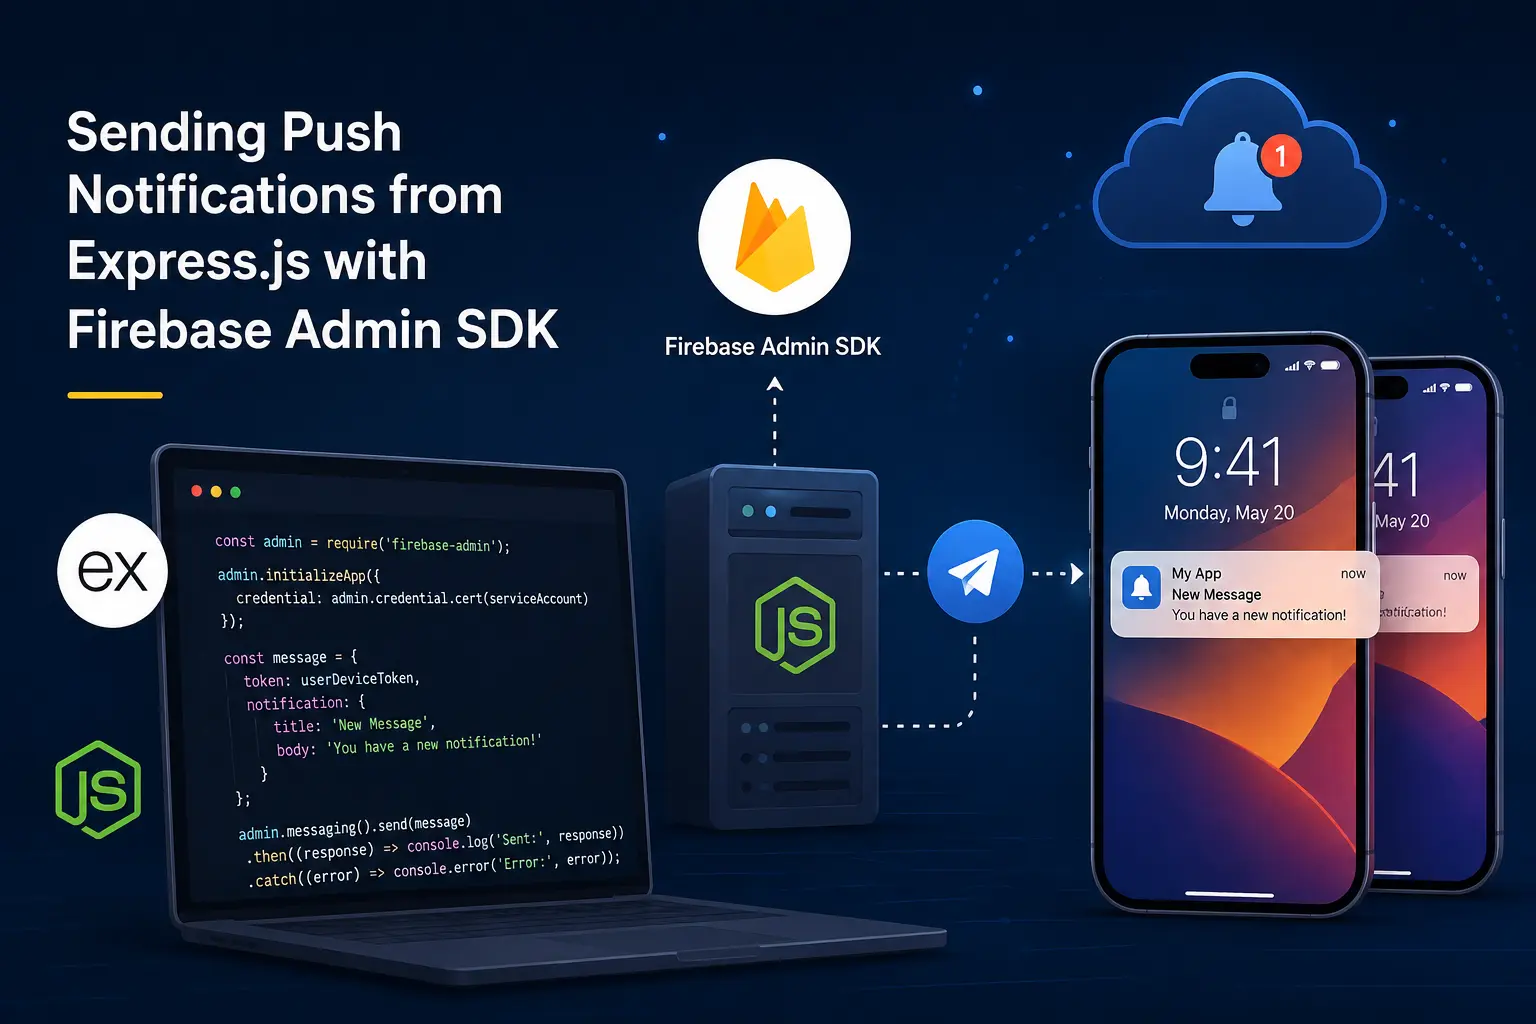
    Sending Push Notifications from Express.js with Firebase Admin SDK

    A practical guide on setting up your Express.js backend to send push notifications through Firebase Cloud Messaging, from the admin SDK setup to writing the actual send function.

    If you read my last post on setting up Firebase Cloud Messaging in React Native, you already know how to get a device ready to receive notifications. But that is only one side of the equation. A phone sitting there with a token isn’t going to notify anyone by itself. Something has to actually send the message. That something, in most of my projects, is an Express.js backend.

    This part is honestly a lot less painful than the mobile side. There’s no Gradle, no missing JSON files, no red screen of death. Once you have your service account key from Firebase, you’re basically 15 minutes away from sending your first test notification.

    What you need before you start

    Before writing any code, go to your Firebase Console, open your project settings, and go to the Service Accounts tab. From there, generate a new private key. This downloads a JSON file with your credentials. Do not commit this file to git. I’ve seen people push it by accident and it’s not a fun cleanup.

    You’ll need three values out of that file:

    • project_id

    I keep all three in a .env file rather than reading the JSON file directly, mostly because it plays nicer with how I deploy things. If you’re on a platform like Render or Railway, you’ll be pasting these into environment variables anyway, so it’s the same workflow either way.

    Installing the admin SDK

    You only need one package for this:

    npm install firebase-admin

    No extra dependencies, no messing around with different SDKs for different platforms. The same firebase-admin package handles Android and iOS tokens.

    Initializing the app

    This part trips people up more than it should, mostly because of one small detail: the private key. When you copy it from the .env file, the line breaks get turned into the literal characters \n instead of actual newlines. If you pass it to Firebase like that, initialization will fail with a vague error about invalid credentials. The fix is a simple .replace() call.

    Here’s how I set it up:

    javascript

    require("dotenv").config();
    var admin = require("firebase-admin");
    
    admin.initializeApp({
      credential: admin.credential.cert({
        projectId: process.env.PROJECT_ID,
        privateKey: process.env.PRIVATE_KEY?.replace(/\\n/g, "\n"),
        clientEmail: process.env.CLIENT_EMAIL,
      }),
    });

    That ?.replace(/\\n/g, “\n”) line is doing the real work here. Without it, you’ll spend way more time debugging than the actual problem deserves. I learned this one the hard way after staring at a “failed to parse private key” error for way longer than I’d like to admit.

    Writing the send function

    Once the app is initialized, sending a notification is just a matter of building a message object and calling admin.messaging().send(). The message needs a notification object with a title and body, an optional data object for anything extra you want the app to handle on its own, and the device token you got from the frontend.

    javascript

    const sendTestPushNotification = async ({ title, body, data, fcm_token }) => {
      try {
        const message = {
          notification: {
            title,
            body,
          },
          data: data,
          token: fcm_token,
        };
    
        await admin.messaging().send(message);
      } catch (error) {}
    };

    A few things worth pointing out here. The data field is separate from notification on purpose. Anything inside notification is what shows up in the notification tray automatically, handled by the OS. The data field is for values your app needs internally, like a screen to navigate to or an ID to fetch. Also, data values have to be strings. If you try passing a number or an object directly, Firebase will throw an error, so stringify anything that isn’t already a string.

    The fcm_token is the piece that connects this whole thing back to the React Native setup. Whatever device you want to notify, that’s the token you save from that side and pass in here.

    Where this token actually comes from

    In a real app, you’re not going to hardcode a token for testing forever. The usual flow looks like this: the app requests the FCM token on launch, sends it to your backend, and your backend saves it against that user in the database. Then whenever you need to notify that user, you just look up their saved token and call the send function above.

    One thing to keep in mind, and I mentioned this in the React Native post too, tokens are not permanent. They refresh, sometimes for no obvious reason. So don’t just save it once and forget about it. Make sure your app updates the saved token whenever it changes, otherwise you’ll end up sending notifications into a void and wondering why your open rates dropped.

    A basic error handling note

    The example above has an empty catch block, which is fine for quick testing but you shouldn’t ship it like that. In a real backend, you’d want to at least log the error, and ideally check if the failure was because the token is no longer registered. Firebase will tell you when a token is invalid or expired, and that’s your cue to remove it from your database so you’re not repeatedly trying to send to a dead address.

    Wrapping up

    That’s really the whole loop. The React Native side handles getting permission and grabbing a token. The Express.js side takes that token and turns it into an actual notification on someone’s phone. Neither half is particularly complicated once you’ve done it once, but the small details, like that private key formatting, are usually what eat up your time the first time around.

    If you haven’t already, it’s worth reading through the React Native setup guide first if you’re building this end to end. Once both pieces are in place, sending notifications becomes a pretty small function call away.
  • How to Connect MongoDB with Node.js using Mongoose

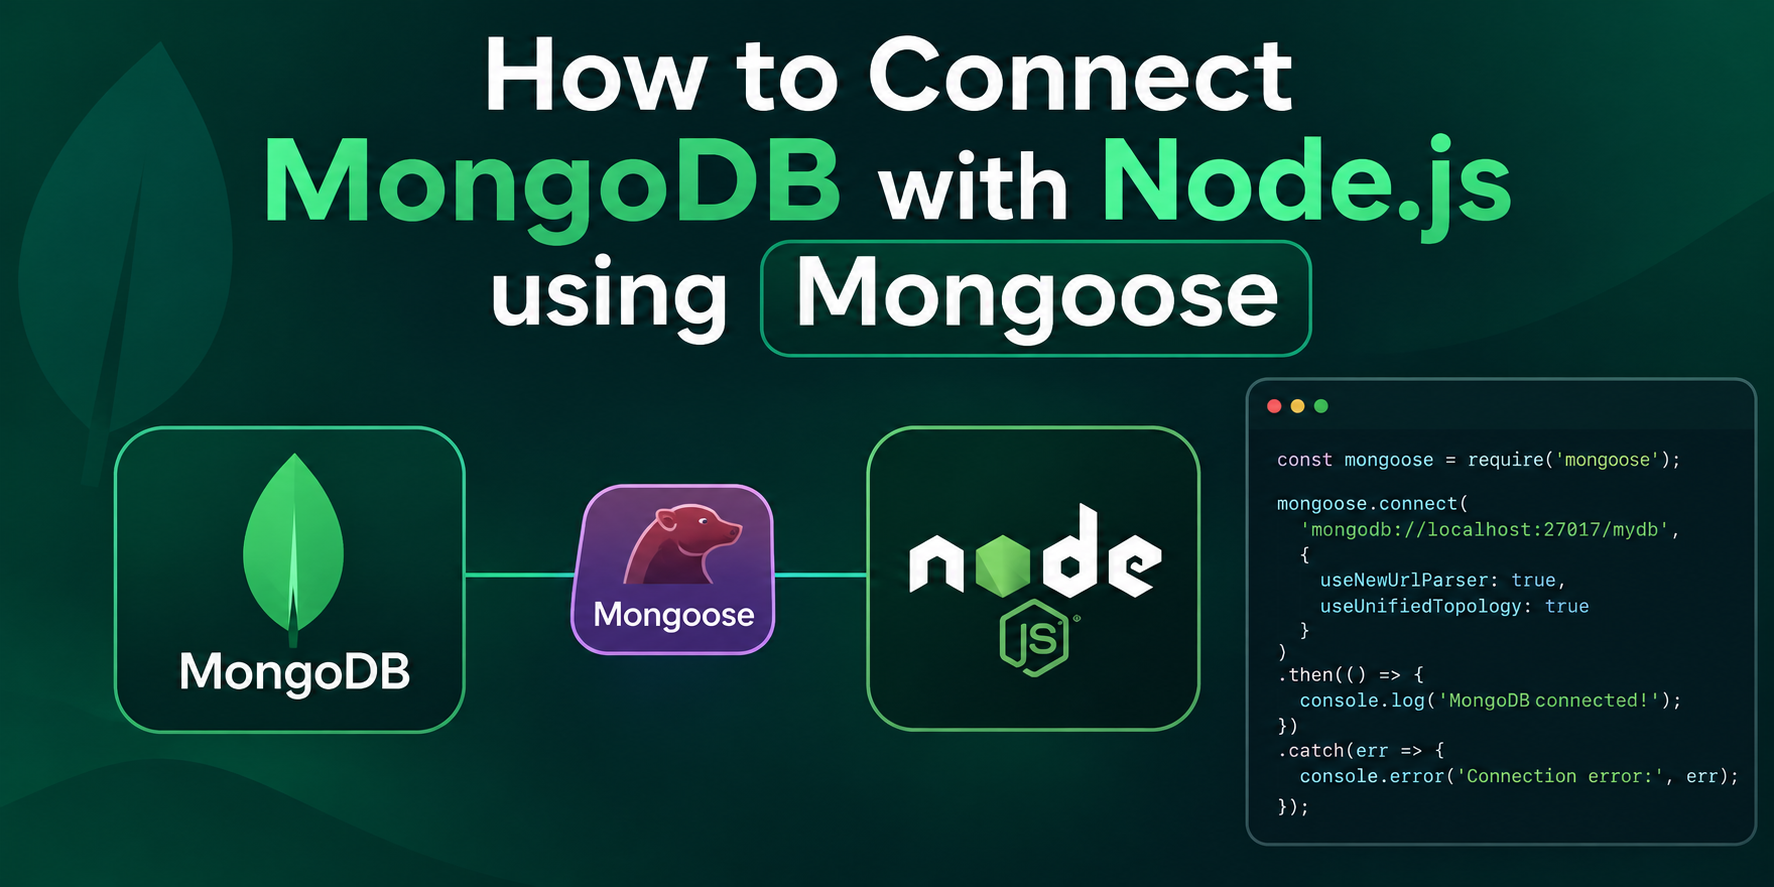
    How to Connect MongoDB with Node.js using Mongoose

    If you’re building a backend app with Node.js, at some point you’ll need a database to store your data. MongoDB is one of the most popular choices for this, especially when you’re working with JavaScript on both the frontend and backend. But connecting MongoDB directly with Node.js can get messy. That’s where Mongoose comes in.

    Mongoose is a library that sits between your Node.js app and MongoDB. It makes things much easier by giving you a simple way to define your data structure and talk to the database. In this post, I’ll walk you through the whole process step by step.

    What is Mongoose

    Mongoose is an ODM, which stands for Object Data Modeling. In simple words, it lets you create models for your data (like a User model or a Post model) and it handles all the communication with MongoDB behind the scenes. Instead of writing raw database queries, you get clean and readable functions.


    Step 1: Set Up Your Project

    First, create a new folder for your project and open it in your terminal. Then run this command to start a Node.js project:

    This will create a package.json file for you.

    Step 2: Install Mongoose

    Now install Mongoose using npm:

    That’s it. No extra setup needed. Mongoose is ready to use once it’s installed.

    Step 3: Get Your MongoDB Connection String

    Before connecting, you need a MongoDB database. You have two options here:

    • Use MongoDB Atlas (cloud version, free tier available)
    • Use MongoDB locally on your computer

    If you’re just starting out, MongoDB Atlas is the easier option. Just create a free account, set up a cluster, and copy your connection string. It will look something like this:

    Step 4: Connect to MongoDB

    Now create a file called server.js (or index.js, whatever you prefer) and write this code:

    Replace your-connection-string-here with the actual connection string from your MongoDB Atlas dashboard. Run this file with node server.js and if everything is correct, you’ll see “Connected to MongoDB” printed in your terminal.

    Step 5: Create a Schema and Model

    This is where Mongoose really shines. A schema defines the shape of your data. Let’s say we’re building a simple user system:

    The schema tells Mongoose what fields your data will have and what type each field should be. The model is what you’ll actually use to create, read, update, and delete data.

    Step 6: Save Data to the Database

    Once your model is ready, you can save new data like this:

    Step 7: Fetch Data from the Database

    To get data back, you can use the find method:

    This will return all the users stored in your database.

    Common Mistakes to Avoid

    While connecting MongoDB with Node.js, beginners often face a few issues. Here are some things to watch out for:

    • Make sure your IP address is whitelisted in MongoDB Atlas, otherwise the connection will fail
    • Double check your username and password in the connection string
    • Don’t forget to handle errors using try-catch or .catch(), so your app doesn’t crash silently
    • Keep your connection string in a .env file instead of writing it directly in your code, for better security

  • Getting Started with Firebase Cloud Messaging in React Native

    Getting Started with Firebase Cloud Messaging in React Native

    The first hurdle is always the config

    I still remember the first time I tried to add push notifications to a React Native project. It was about four years ago, and I thought it would be a quick afternoon task. I was very wrong. Between the Gradle sync errors and the missing JSON files, I spent way more time debugging my environment than actually writing code. But honestly, once you get the foundation right, the rest of the MERN stack integration feels like a breeze.

    The setup you actually need

    Before you even touch your Javascript files, you have to get the native side talking to Firebase. You’ll need to head over to the Firebase Console, create a project, and download that google-services.json for Android. It goes into your android/app folder. If you miss this, the app will just crash on startup with a cryptic error that doesn’t tell you much. For the library, I always stick with @react-native-firebase/app and @react-native-firebase/messaging. They are the industry standard for a reason.

    // First, install the core and messaging modules
    // npm install @react-native-firebase/app @react-native-firebase/messaging
    
    import messaging from '@react-native-firebase/messaging';
    
    async function requestUserPermission() {
      const authStatus = await messaging().requestPermission();
      const enabled =
        authStatus === messaging.AuthorizationStatus.AUTHORIZED ||
        authStatus === messaging.AuthorizationStatus.PROVISIONAL;
    
      if (enabled) {
        console.log('Authorization status:', authStatus);
      }
    }

    Getting that device token

    The most important part of this whole process is getting the FCM token. Think of this as the mailing address for that specific phone. You’ll want to grab this token and send it to your backend. In my MERN setups, I usually store this in a User schema in MongoDB. But here is a tip I learned the hard way. Tokens can change. They expire or get refreshed when an app is restored on a new device. So you should always listen for token refreshes using the onTokenRefresh method. If you don’t do this, you’ll end up sending notifications to dead addresses, and your delivery rates will tank.

    Setting this up is basically the rite of passage for mobile developers. It feels tedious when you’re doing it, but seeing that first notification pop up on your physical device makes it all worth it. Don’t let the initial setup frustrate you. We’ve all been there, staring at a red screen of death because of a typo in the build.gradle file. Stick with it, and once the bridge is built, the real fun begins.

    Now that your app can receive notifications, the next step is actually sending them. I wrote a separate guide on setting up the backend side with Express.js and Firebase Admin SDK, covering the service account setup and a working send function. You can read it here if you want to complete the full loop.

    Hasnain Alam, Full-Stack Developer | hasnainalam.com